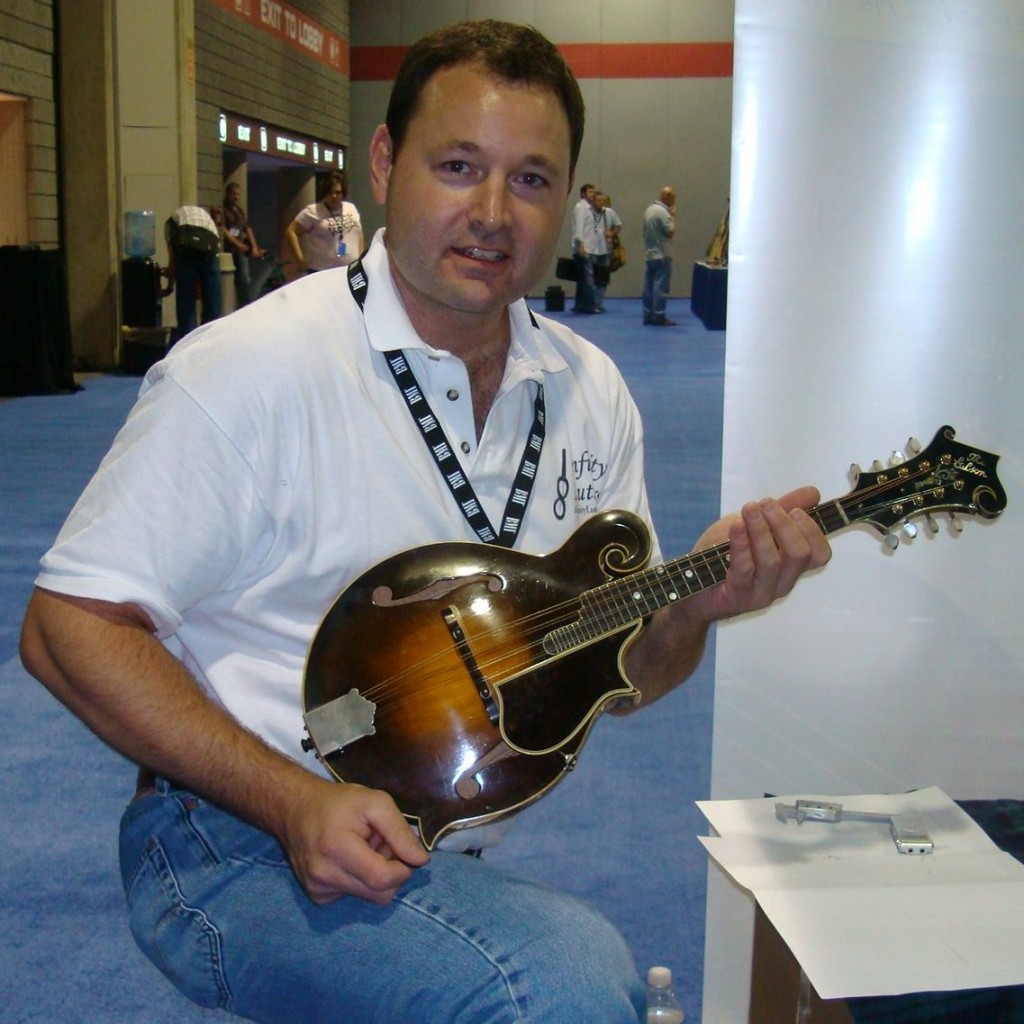
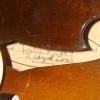
 It has been nearly a month now and I’m still trying to catch up from my week at the IBMA in Nashville. While there, I spent some time with a Lloyd Loar signed Gibson F5 mandolin. This mandolin was signed the same day as Bill Monroe’s F5 (#73987), July 9, 1923.
This was my first opportunity to spend time with one of these highly sought after instruments. This particular instrument is serial number 73984 and may also be seen at the Mandolin Archive.
Currently, the instrument is on consignment at Elderly Instruments in Michigan; the asking price a mere $250,000. My wife indicated that I could buy it if I could live in it and she would be happy to help me get in there.
I have to start by thanking Derek at Elderly for allowing me the opportunity to hog the mandolin for my own diabolical purposes for a generous portion of the show. Before IBMA week, Elderly had sent out an email with notification that the F5 would be at their booth. So, in advance, I had verified that I could meet the instrument and spend some time playing, measuring and photographing it.
I asked for a small space where I could study the instrument. We set up a little workbench on a large cardboard box and I pulled out my flannel drop cloth, measuring tape, ruler, caliper, recorder and camera. First I took the mando in, looking at it in detail. I followed the arch of the top from the tail up through the f holes and on to the rising contour of the scroll. I must say, Orville Gibson designed a beautiful family of mandolins in the Florentine style (with scroll).
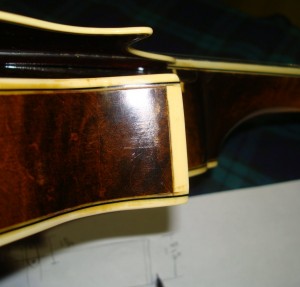
I then eyed the fretboard and followed it up to the headstock which also includes a delicate scroll. 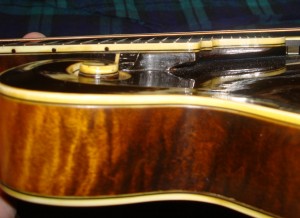 I spent extra time studying the bindings. This one has a triple bound side binding. You might be surprised, but compared to the contemporary standards set by the likes of Lynn Dudenbostel, Steven Gilchrist, Hans Brentrup and others, the fit of the bindings’ intersections and overall contour and connection of the fretboard extender support are disjointed and pretty rough respectively.
 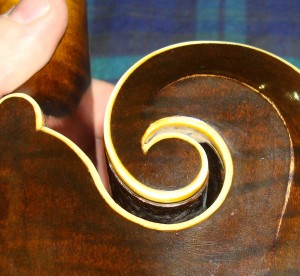 The bindings I assume have shrunk a bit. Enough to pull the miters apart slightly? Probably. On the other hand, the treatment of the binding itself is flawed. Notice in the picture to the right that the inside point where the bindings come together is seriously distorted. Along the underside of the button has some issues where the binding meets the inside side of the scroll in two places. Also, you can see the miter near the neck heel is pulled apart slightly. These flaws only illuminate the fact that although the instruments were built in a factory setting, they were constructed by humans, not computers, using materials that change in pliability and effectiveness over time. Could this be part of the reason older instruments are said to sound better than new instruments?
Surprisingly, this mandolin is in great shape. I could not identify any cracks in the finish, body, neck or headstock. 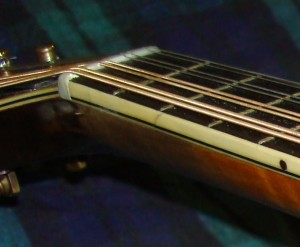 There are the occasional scratches and wear, but this is to be expected on any instrument that is played even a little. The only cosmetic flaw I could find, that was not included by the factory, was a crack in the fretboard binding at the second fret. Given the age of the mandolin, this is most likely due to shrinkage of the binding like the miters’ separation.
Orville’s right hand man in the development of the F5, was Lloyd Loar. Loar was an Illinois native born in Cropsey just East Northeast of Bloomington and grew up in Lewistown, IL only 60 miles Northwest of my current hometown of Springfield. Loar was a musician and equally if not more important a sound engineer. His additions to the F5 are the extended neck for greater playable range, tuned f holes like a violin, raised fretboard, increased break angle at the bridge, tonebars that run nearly parallel, tuned top and back plates and box, and a minimum thickness area that encompasses a greater length of the perimeter of the mandolin. Roger Siminoff has done extensive research on the life and accomplishments of Lloyd Loar and cites his tuning of the individual top and back plates, tonebars and f holes as his most prominent addition to the F5.
After taking in the view of this fine instrument, I began to play. Wow! The luthiers at Elderly have done a great job setting up this instrument. The action is low, strings in each course are placed just far enough apart not to buzz against the other and the action at the nut is nice and low. Unfortunately the sound, that vintage F5 sound I was expecting to hear was just not there. I had worked up in my mind that this would be the most wonderful sounding mandolin I have ever heard, not the case. It was slightly lacking in overall volume, the lows were muddy and the mid to highs were, well, lacking volume. As I wrote in the paragraphs above, this mandolin is in great shape. I have a feeling that it has not been played much and not enough leading up to IBMA. Maybe it just needs played in? Maybe it was my attack? I do not know and imagine I will not be the one to find out. Hopefully the next owner will play it regularly instead of hanging it on a wall or hiding away in the case and let the mando community know and hear if any changes to the voice occur.
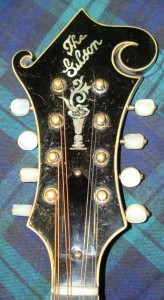
Without further hesitance, I pulled out a large sheet of paper and pencil and began tracing the body of the mandolin, then the headstock and neck. Using my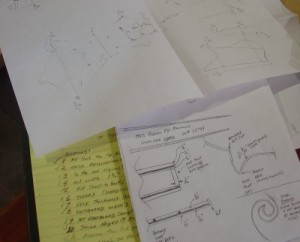 calipers and engineer’s rule I checked and rechecked the measurements, spending hours filling in all the measurements on the tracings and sketches. As a student of lutherie, I studied the mandolin as I measured. Reasons for the improvements to this model over the last 90 years became apparent. The first change in design I noticed is the tuner design change. Look at the headstock side view. Note how the tuner posts lean to the left.
 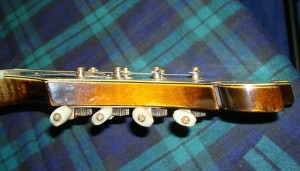 This lean, caused by the string tension, is reduced in newer models by placing the tuner button post and worm gear on the right side / above the tuner post. This allows some of the string pressure to be leveraged against the worm gear. This also allows for better and more continuous contact between the gears. Also note that the extreme tension against the tuner post is causing the top A string bushing to pull up out of the headstock and allowing the lean to increase.
I continued on to the sides of the mandolin, measuring the bindings, rim, head stock and neck. I measured the placement of the tuners and the flower pot inlay as it floats above the bell shaped truss-rod cover. Even the specifics of the inlay were traced and measured. The single width binding was sketched and photographed at each of its miters. A great way to tell a good Loar reproduction is to identify how its miters are accomplished.
I traced the pickguard and sketched the pickguard mechanism taking careful measurements of the length and diameter of hardware, screws and threaded rod used.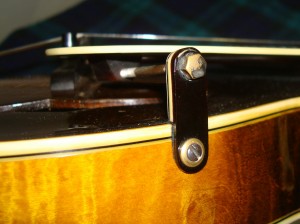 Notice the hardware is a mixture of brass, silvered metal, painted metal and celluloid binding and stacked pickguard material. This original and complete set of hardware on an auction site would bring a huge bounty for the owner. It is not everyday you find the original equipment available.
Even each of the point protectors were documented. Notice the slight dovetailing of the bone point into the binding. Also note the over-scraping of the sunburst next to the binding at the bottom near the point.
Here is a good shot of the fretboard binding. Notice the side dots are of tortoise-like material and actually overlap the black strip in the binding.
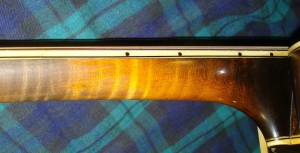
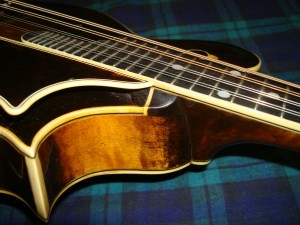
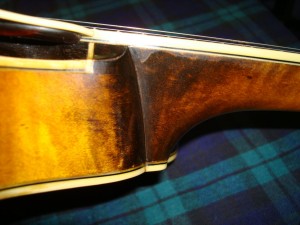
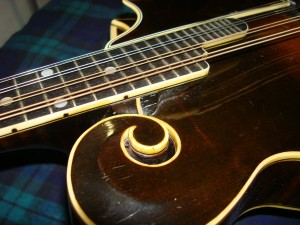
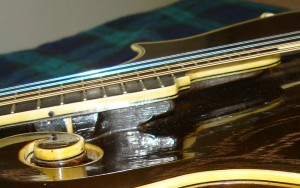
One of the most difficult parts of a mandolin for many to visualize is the neck transition area. I have included several photos of this F5′s transition area below. Just remember this… the front of the mandolin body / neck body is round and the neck is attached at a negative angle. At the same time, the neck width increases from bottom to top. This makes the joint appear to curve when in fact is straight. Easy right?
 |
 |
 |
 |
Now that you have mastered the visualization of the neck joint, just imagine… inside that is a dovetail joint. No sweat right?
Well folks, that is en0ugh for installment #1. Installment #2 coming soon.

